I learned a lot though through the internet especially a great bike forum called RoadBikeReview. I learned more about wrenching and developed a love for vintage bikes. I got to start thinking that I should try to restore the old 7-speed and not just let it rust away. So I decided to do the restoration but not spend so much money while doing so.
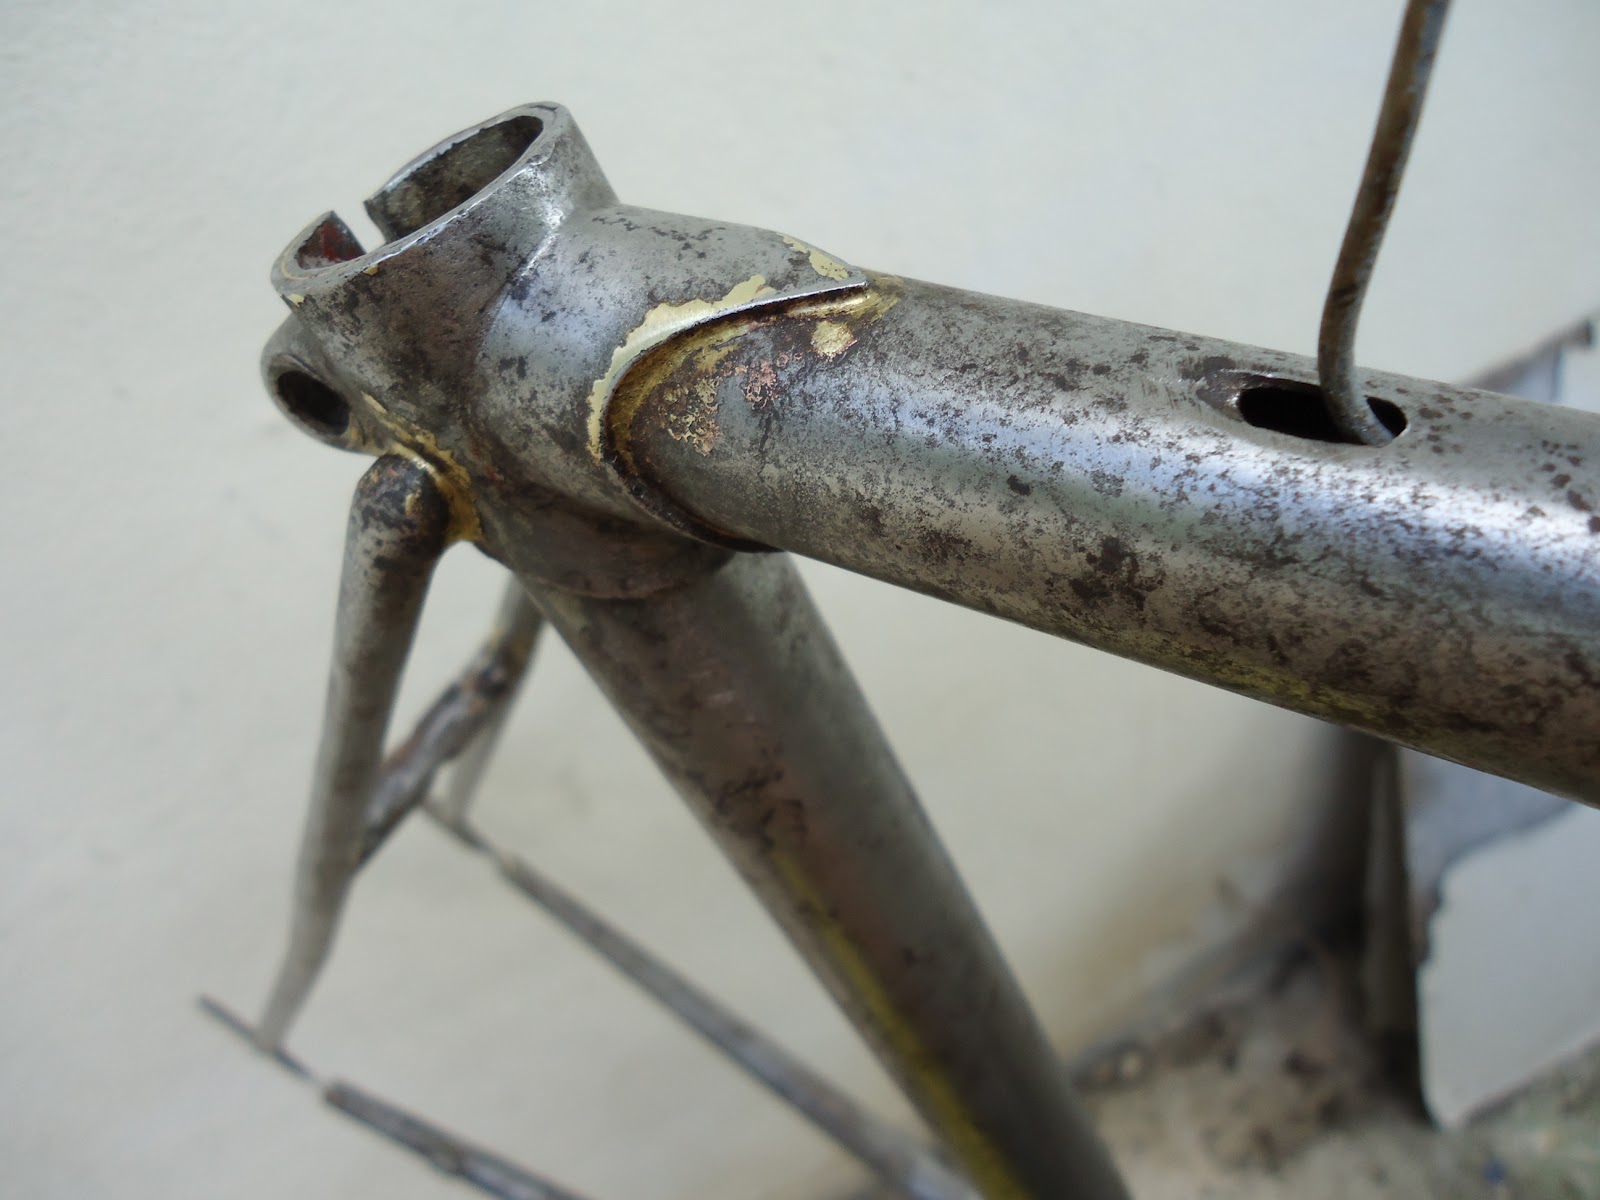
BEFORE:

After a few years in storage, her brake and shifter cables and chain were rusty. Who knew what condition of the steel frame and aluminum components after maybe more than 5 years?

After becoming a fan of vintage steel bikes, I was wishing and fantasizing that she was some sort of high-end oldie. It turned out after a few questions posted on the bike forum that this is someone's fantasy Cannondale bike, since they never made any in steel. Someone pointed out too that certain parts were stamped steel rather than forged, a sign of a lower-end bike. It used to have a triple crankset, but the inner, smallest gear was gone.


You can usually find out a lot about a bike's identity by the stamped number on the bottom bracket. I had to clean this out to see what the numbers were. Unfortunately, even after cleaning it up the best guess the forum gave me was that it was a low-end, possibly Japanese touring bike with parts salvaged from here and there.

STRIPPING and PREPPING:
I decided to strip and repaint. I used instructions from MikesBikes which was informative and easy to understand. Again, to keep the cost low, I decided to use rattle can primer, paint and clear coat. Here are some picture after applying the paint stripper. That's some really caustic stuff.


Sanding and Cleaning the Frame:
Prepping the frame for painting took the most time. Sanding all of the paint and getting the frame bare and smooth for the paint job was hard but you get to learn so much about the frame and materials of the bike. I discovered that the frame is of a lower-end variety of steel and it had a lot of fillers for the imperfections. Still, I was determined to finish the restoration and enjoy the journey. I was really enjoying using my hands the most.


Greg lent me a bunch of tools to get the components off of the frame. I never knew that such a simple machine has so many specialized tools! To get the crank off, you need a crank puller; to remove the chain , you need a chain breaker; and so on and so forth.


AFTER
I decided that I liked a vintage white for the frame. I decided against buying components or just stick to "restoring" rather than "upgrading". After the paint job, I just decided to get a colorful Italian flag bar tape, red cables and red tires to give her a highlight color. All the items were on sale through various online bike shops. I was pretty happy with the cheap prices the quick service, which was nice surprise. Being on an island really makes purchasing online an adventure in itself.


She's almost ready for a ride. I just need to make some shifting adjustments to make
her ready for the road. I ordered a $13.00 cassette to make it easier
to climb Saipan's hills but it came and was not compatible with my wheel
hub. I may just have to keep her on the flat roads (or get stronger
legs).


Well, she is finally done with a lot of help from near and far. I wish there were more opportunities in the future to restore and to wrench. I've gotten to really love using my hands, and being able to add an artistic flair to it all. See you on the road!
Ti napu.

7 comments:
buona giornata...ciao
Fabulous job!!! Looks great :)
Wow nice Job! Can't wait for you guys to go riding again!
That sounds like very satisfying work.
I also love the bike and I like!
Greetings from a long winter Polish
and wishes
A wonderful New Year!
http://kwm-nowysacz.blogspot.com/
Thanks for sharing info Webmasters SEO Marketing Forum and Webmasters SEO Marketing Blog and Webmasters SEO Marketing Blog and Uber People Sucks and Permai Marketing Blog and KJRI Los Angeles and Cellulars Sales Los Angeles and Dogs Sitting Los Angeles and Security Guards Jobs Los Angeles and Guam Night and Guam Blog and Maltese Dogs Breeder
Harrah's Cherokee Casino & Hotel - MapYRO
Find Harrah's 문경 출장안마 Cherokee 김제 출장안마 Casino & Hotel location, rates, 청주 출장샵 amenities: expert Cherokee research, only at Hotel and 서산 출장샵 Travel Index. Realtime driving directions to 대구광역 출장샵 Harrah's
Post a Comment